Avoid Blurry Prints: The Best Pixel and DPI Settings for Digital Artists
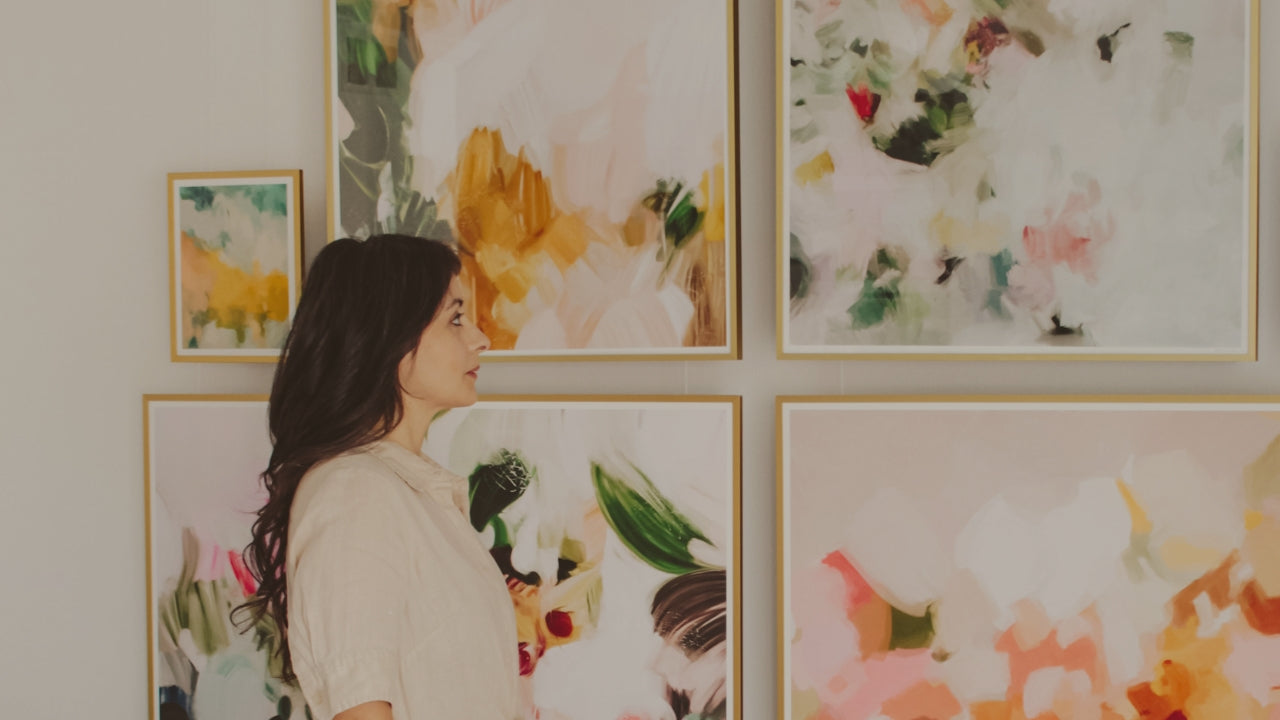
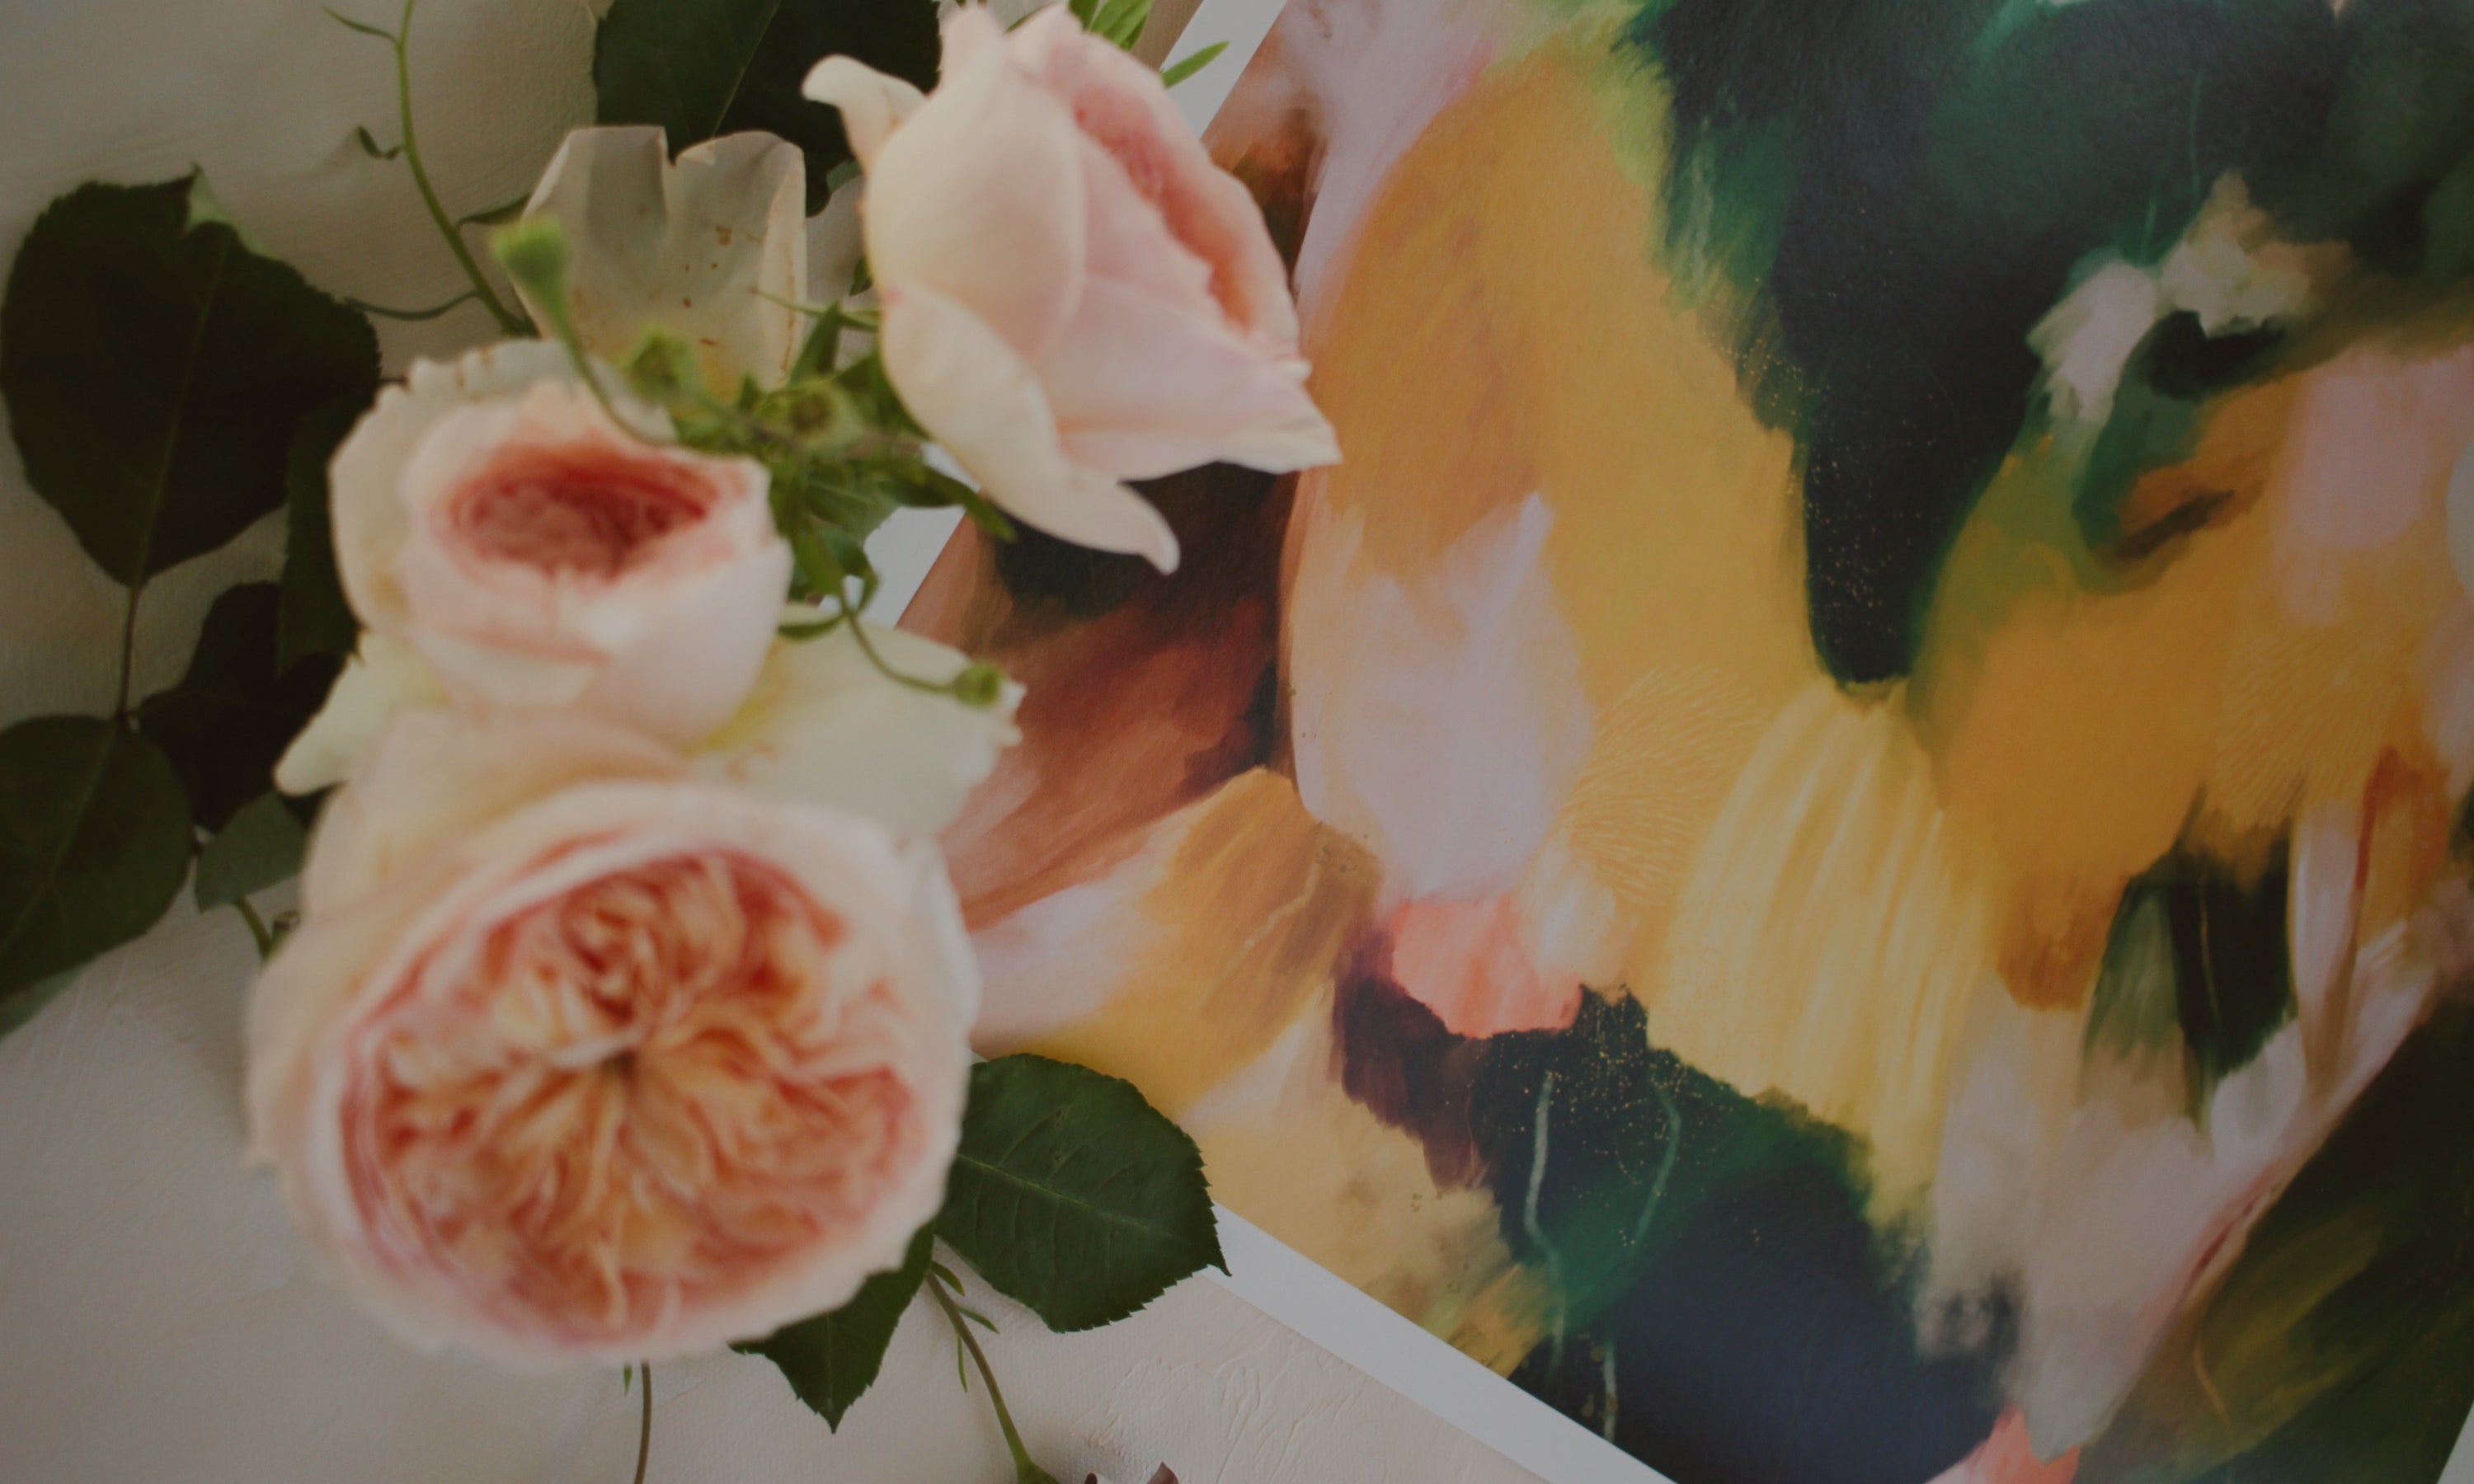
If you're a digital artist dreaming of seeing your work as a crisp, beautiful print, there are a few technical pieces you must get right before you hit print, actually before you even create your first brushstroke.
Let’s break it down, starting with the basics...
Pixels
Pixels are the tiny building blocks that make up your digital art. The more pixels your artwork has, the more detail you can keep when you print it. More pixels mean bigger prints.
If you already know you want to print big—or you might want to down the road—save yourself a headache and work at a large size from the beginning. Every art program has limits on how big a file you can make, so it’s a good idea to look that up for whatever software you’re using.
Here’s a quick reference for how many pixels you'll need for standard print sizes (assuming 300 DPI, which we’ll get to next!):
But don’t worry, you don’t have to memorize this. Most programs let you start a new document using inches or centimeters, and they'll figure out the pixel size for you—just keep an eye on the resolution setting too!
Don’t Forget About Resolution (DPI)
DPI stands for "dots per inch," and it's basically how tightly packed the printed ink will be on your paper.
The standard for nice, sharp prints is 300 DPI.
If your resolution is too low, your art might look blurry or pixelated when printed, even if it looks fine on your screen. So always double-check that your file is set to 300 DPI when you create it.
Just remember: resolution and pixel count work together. A high resolution won’t help if your canvas is too small, and a huge canvas won't look good if your resolution is too low. You need both!
Brushes, Textures & Stamps — Know Their Limits
Here’s a sneaky problem a lot of artists run into: not all brushes and textures look good when used on a high-res, print-size canvas.
Most brushes (even ones you buy) are made at a certain maximum size. And they will show up differently depending on the size of your canvas.

If you're working on a giant digital canvas and you crank your brush size all the way up, it might look fuzzy, stretched, or pixelated. So not ideal!

Just because your software lets you make the brush bigger doesn’t mean it will look good. Going past the brush’s intended size can distort the texture or shape.
Quick Tip: Test Your Brushes
Here’s a little trick that will save you a lot of frustration:
-
Create a new test document with the same pixel dimensions and resolution as your artwork.
-
Zoom in to 100%.
-
Try your brushes at different sizes and see where they start to fall apart.

As you can see in the example above, the brush, which has a native size of 30px, starts to look funk at 360px. And it definitely loses its crisp details at 720+ pixels.
Keep your test file somewhere handy. It's great to reference until you get to know how your favorite brushes behave at larger sizes.
(You can even save versions labeled with sizes so you’ll remember your go-to settings!)
The same advice goes for textures and stamps—try them out at full size first to make sure they stay sharp.
When You’re Buying Brushes or Textures…
Pay attention to the info the seller provides. Look for:
-
The pixel size of the brush or texture
-
The resolution it was created at
Generally, the bigger the better. A brush made at 3000px will hold up way better than one made at 800px, especially if you're printing large.
Bonus Tip: Zoom to 100%
This one’s easy but super useful: check your work at 100% zoom as you go. That way, you’ll see exactly what your brush strokes and textures will look like when printed.
If something looks off at 100%, it’ll definitely look off in your final print—so it’s worth taking a moment to check!
To Wrap It Up...
If your prints aren’t looking as sharp as you hoped, go back and double-check these three things:
-
Are you working with enough pixels for the size you want to print?
-
Is your resolution set to 300 DPI?
-
Are your brushes, textures, and stamps holding up at full size?
Getting all of this set up ahead of time will save you so much time (and frustration). Most programs let you create templates or presets – take advantage of those! Once it’s dialed in, you can focus on making your art and feel totally confident that it’ll look amazing when it comes off the printer.
----

Leave a comment
This site is protected by hCaptcha and the hCaptcha Privacy Policy and Terms of Service apply.